Making your own nail colours!
I was able to offer over 200 colours to my clients just 2 years into doing nails only because I quickly learnt that you could make your own colours using pigments! I was a super excited, eager nail tech when I first started out so I wanted everything! Unfortunately there was no way I would be able to start an awesome colour collection at $10 a colour. I discovered to make a colour was simply gel or acrylic and pigments! I became obsessed! Now yes it did take me a bit to realize what colours needed to be used to create that perfect shade I was going for, but through lots of practice and binge watching the entire series of Seinfeld and Friends, I became a pro!
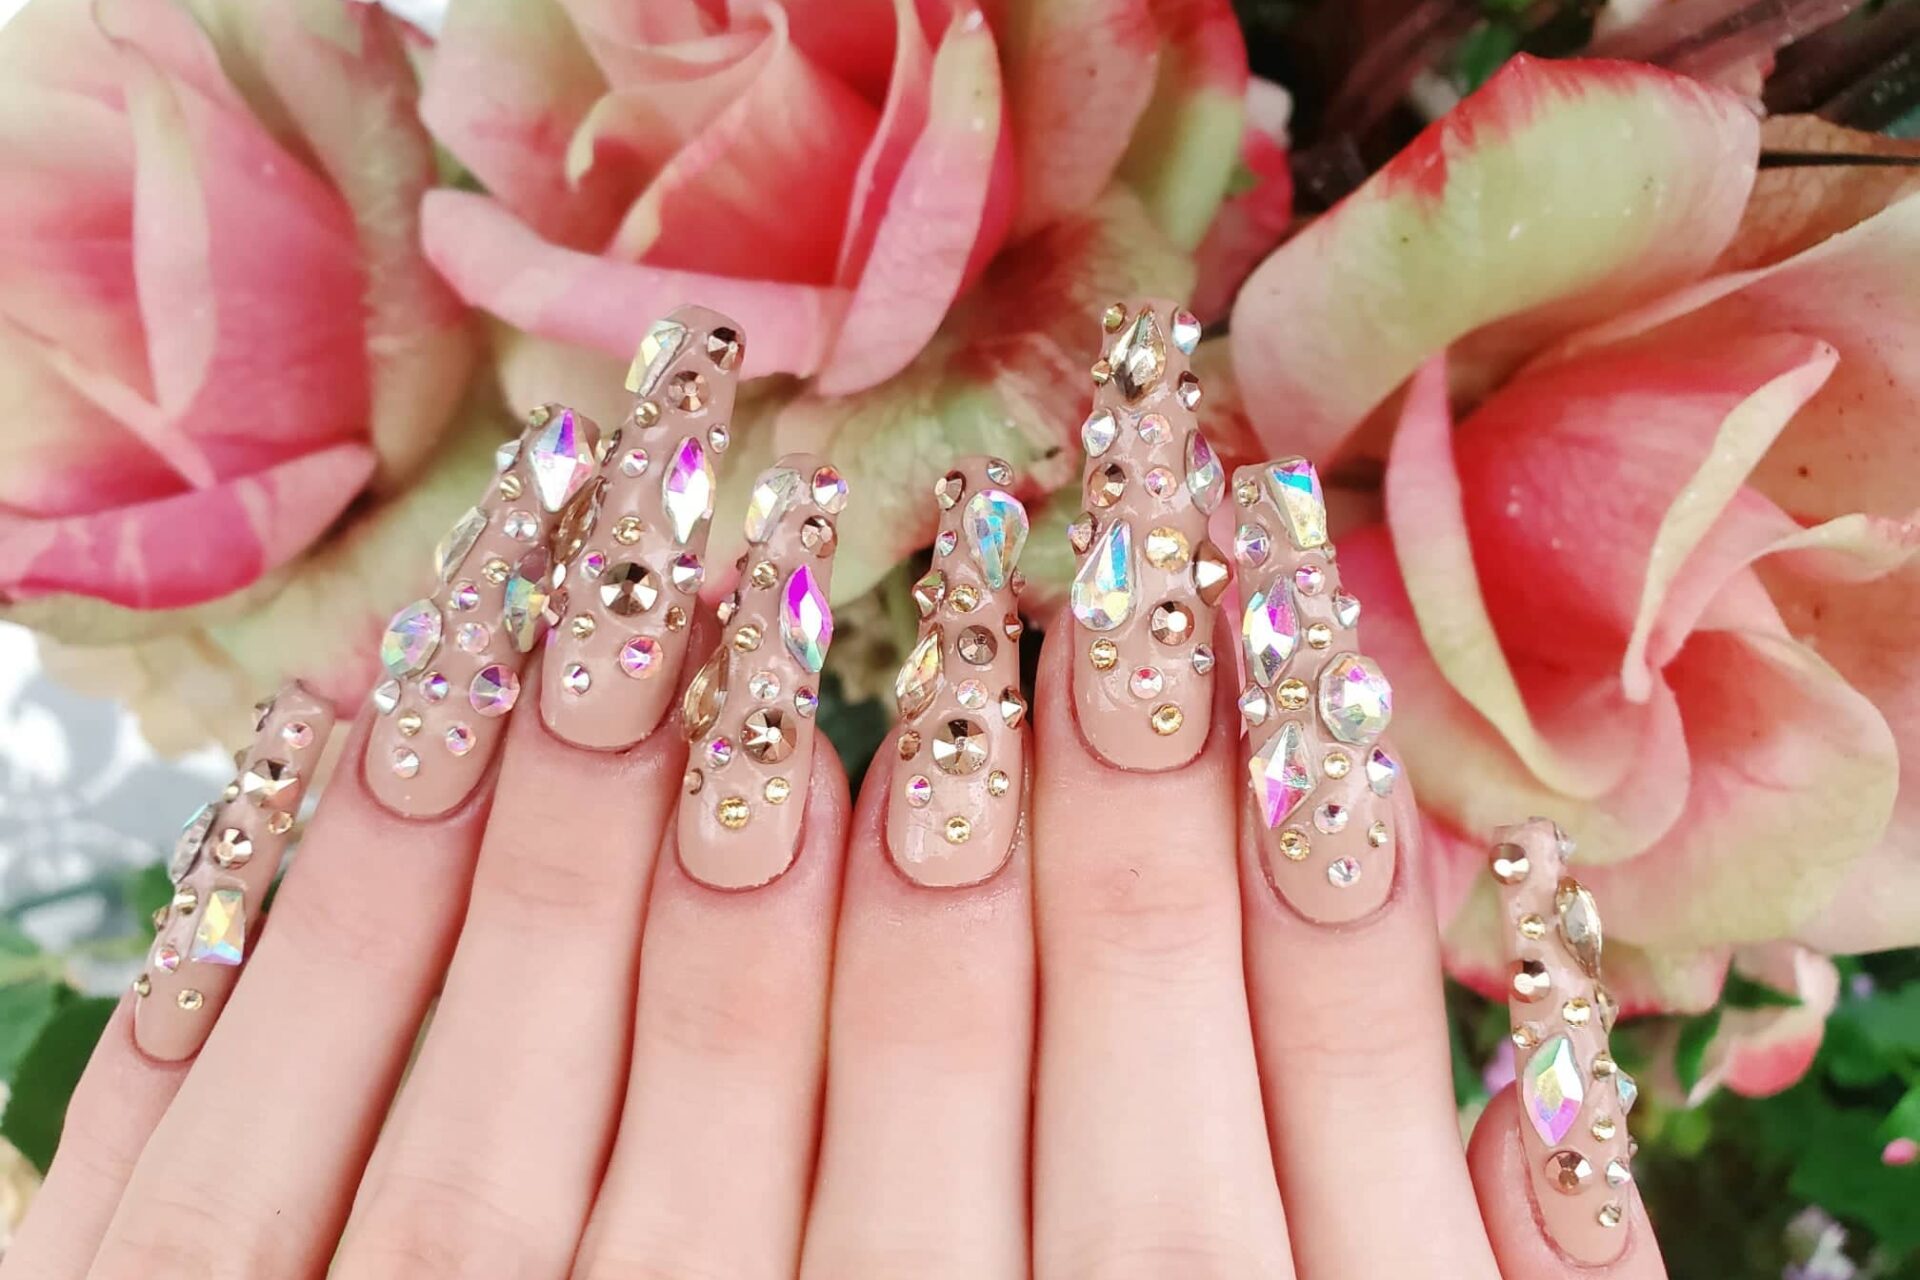
It truly is EASY! Clear gel/acrylic mixed with primary blue pigment, creates primary blue- easy. But what became an obsession is mixing a bit of green into the now primary blue colour. Or mixing white into the primary blue colour – or mixing white into the primary blue/green colour…. following? It becomes an infinite of possibilities! I have to say nudes were my favourite though – Client comes in asking for nude and I whip out over 40 shades of nude *insert evil smirk hehe* Nudes were fun because take you base colours of clear, white, opaque peach and opaque pink. (opaque peach and pink both being marvelous candidates for nude options and an already satisfied client) Lets say you have just 2 nude pigment options, lets say vanilla and blush. Here is a visual so you can follow a bit easier 🙂

Now as an acrylic tech I can say there are a few bonuses to mixing with gel over acrylic. The biggest ones is being able to make a colour in front of your client very quickly. This saves you from pre mixing a bunch of acrylic colours beforehand-guessing which colours will be popular – and finding a place to store them all. Through practice and experimentation, you can create any colour imaginable using pigments. So for the purpose of this post I will be doing a demo using gel 🙂
How to make a colour:
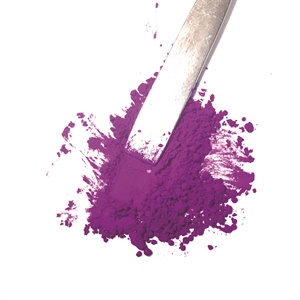
I carry three gel lines, all specifically formulated for mixing. For this demo you will need Cool Gel, pigments (#44 and Electric Purple #21), and a Tackless Gel Sealer.
Prep your pigments. Electric Purple #21 is more of an “earthier” pigment and needs to be patted down and ground down first to break it up. #44, a mica pigment (silkier) blends in easily and doesn’t need to be crushed into the product.
Mix #44 into Your Gel. Mix until the color is consistent and desired opacity is met.

Apply thin layer to a prepped nail and cure for two minutes in a 9-watt UV lamp or 30 seconds in a 405 NM LED lamp. (Cure time will need to be adjusted if a heavier amount of pigment is added.)
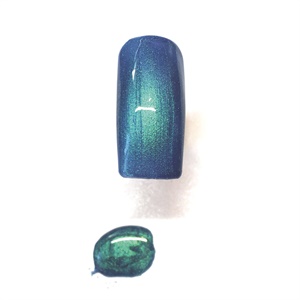
Using the same #44 mix, add and blend in your pre-crushed Electric Purple pigment. Cure.


Once cured, wipe and top gloss with our Tackless Sealer for optimal shine. By adjusting your pigments-to-gel ratios and bringing new pigment colors into the mix, you can see how you can expand your gel color offerings and quickly make custom colours on the spot!